Don’t pour the slab to the exact footprint—what seems neat during design often fails during installation and drainage.
Specs at a Glance (field-ready)
- Slab margin: make the slab ½″–3″ larger on all sides (use 3–6″ for open carports/RV covers that see more splash).
- Panel inset: wall panels sit inboard of the slab edge; leave room for base angle, closures, and sealant.
- Slope for drainage: target ¼″ per foot away from the building for exterior surfaces and aprons. Interior slabs are typically flat unless a floor drain is specified.
- Apron width: 2–4 ft typical (use 3–6 ft in high-splash zones like carports/RV covers).
- Vapor retarder: use ASTM E1745 Class A (≤0.1 perms) above a compacted granular base; tape seams and penetrations. Place directly under the slab for moisture-sensitive interiors.
- Control joints: space at roughly 24–36× slab thickness (4″ slab → ~8–12′); sawcut to ¼ of slab thickness (e.g., 1″ on a 4″ slab) and cut as early as the mix allows without raveling.
- Anchors: set per the manufacturer’s anchor-rod plan; respect edge distance (rule of thumb for cast-in ≈ 6× anchor Ø; stamped plans govern).
- Typical thickness: 4–6″ for residential/light commercial; go thicker and consider dowels for forklifts/point loads.
- Reinforcement: fiber helps plastic-shrinkage control; rely on rebar or welded wire per the engineer for structural reinforcement.
- Energy/code: slab-edge insulation may be required by IECC depending on climate zone and whether the slab is heated; termite/frost rules can change the detail. Check local adoption.
Leave an Overhang or Margin Around the Slab
Your slab should usually be ½″ to 3″ larger than the metal building on all sides. The margin depends on structure type, anchoring, finish detail, and climate.
Real-World Example: 30′×40′ Metal Building
For a 30×40 steel garage, don’t pour exactly 30′×40′. Pour 30′-2″ × 40′-2″ up to 30′-6″ × 40′-6″ based on your installer’s detail and local conditions. That small overhang creates a clean frame-to-foundation margin and solves real problems.
Why the Slab Should Be Larger
1) Installation & Framing Alignment
- Metal building panels sit inboard of the slab edge.
- If the slab and building are the same size, you risk: anchor breakout, panels hanging off, and no room for base angle/closures/sealant.
2) Drainage That Actually Works
A slightly larger slab lets you run a ¼″/ft slope away from walls or into a perimeter apron. Water moves out instead of under panels.
3) Anchor Bolt Placement Margin
You need room for accurate drilling/layout and for edge distance. Tight-to-edge holes chip out and reduce capacity. The margin preserves strength and gives tolerance during set.
4) Aesthetics & Finish Options
- Cleaner trim flashing at the base
- Straight sealant lines
- Sidewalk/skirt edges that catch drip and mud
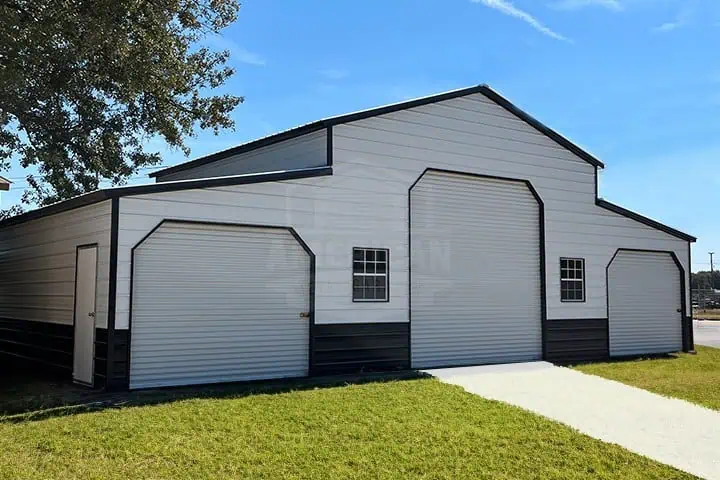
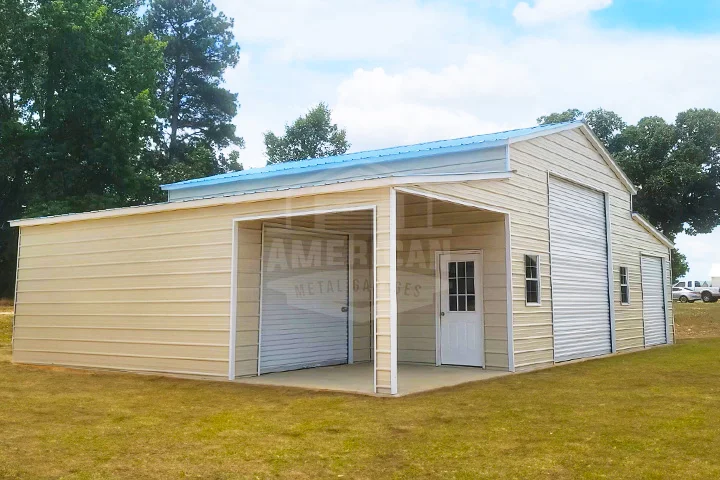
Flush buildings look rushed. A small overhang looks deliberate and helps resale.
Common Overhang Dimensions (by use + anchor approach)
| Building Type | Recommended Slab Overhang | Notes |
|---|---|---|
| Metal Garage | 2–3″ | Room for trim, sealant, apron slope |
| Steel Workshop | 1–2″ | Tighter finish; confirm anchor plan |
| Carport / RV Cover | 3–6″ | Higher splash; slope to all sides |
| Ag / Equipment Shed | 2–4″ | Wash-down friendly; skirt board room |
| Retail / Light Comm. | 2–3″ | Allow façade/base trim clearance |
If you’re using cast-in anchor rods, verify edge distance and base-plate footprint before you set forms. For post-installed anchors, keep enough setback for anchor size and embedment.
Base Detail: Where the Panel Meets the Slab
At the base you typically have: concrete slab edge → base angle → closure/foam → wall panel. That stack sits inboard of the slab edge. The overhang gives:
- Space for the sealant bead at the base angle
- A surface for closure strips without hanging off the edge
- A practical spot for a thermal break/sill sealer to limit condensation at the panel base
Moisture Control That Prevents Callbacks
- Subbase: place 4–6″ of compacted, free-draining granular base as a capillary break.
- Vapor retarder: install ASTM E1745 Class A sheet directly under the slab (above the base), tape all seams and around penetrations; turn up at the perimeter where the detail allows.
- Drainage: slope exterior slab and aprons ¼″/ft away from walls; keep grade and landscaping falling away from the building.
This combo reduces condensation, curling from moisture differentials, and mold/mildew risks in conditioned spaces.
Anchors, Edge Distance & Tolerances
- Follow the anchor-rod plan from the building manufacturer.
- Keep edge distance; as a rule of thumb for cast-in anchors, plan around ~6× anchor diameter to the nearest edge (engineered plans govern).
- Avoid drilling within 1.5–2× embedment of slab edges unless an engineer approves.
- For post-installed anchors, check embedment, concrete strength, and cracked-concrete ratings; use the manufacturer’s tables.
Anchor Edge-Distance Quick Reference (rule of thumb)
| Anchor Diameter (in.) | ~6×Ø Edge Distance (in.) |
|---|---|
| 3/8″ (0.375) | 2¼″ |
| 1/2″ (0.500) | 3″ |
| 5/8″ (0.625) | 3¾″ |
| 3/4″ (0.750) | 4½″ |
| 1″ (1.000) | 6″ |
Use this for layout sanity checks only. Follow the manufacturer’s anchor-rod plan and the engineer’s details.
Control Joints, Thickness & Loads
Control-Joint Cheat Sheet
| Slab Thickness | Spacing Rule (≈ 24–36× thickness) | Typical Spacing (ft) | Sawcut Depth (≈ ¼ thickness) |
|---|---|---|---|
| 4″ | 24–36 × 4″ | 8–12′ | 1″ |
| 5″ | 24–36 × 5″ | 10–15′ | 1¼″ |
| 6″ | 24–36 × 6″ | 12–18′ | 1½″ |
Cut as early as the mix allows without raveling (often 6–12 hours; adjust for temperature, mix, and curing method).
- Thickness: 4–6″ covers most garages/shops; bump thickness and use doweled joints for forklifts, pallet jacks, or column point loads.
- Concrete strength: 3,000–4,000 psi mixes are common; verify with your engineer and local specs.
- Reinforcement note: fiber is not a substitute for rebar in structural design; follow the engineer’s reinforcement schedule.
Climate & Code Notes (U.S.)
- IECC slab-edge insulation: may be required depending on climate zone and whether the slab is heated. Many cold/mixed zones require perimeter R-value with a specified depth or horizontal run.
- Termite zones: some jurisdictions limit or detail foam at grade in heavy/very heavy termite areas. If foam is allowed, protect it and maintain clearances.
- Frost: in cold climates, consider thickened edges, stem walls, or frost-protected shallow foundation details.
- Expansive soils: get a geotech opinion; you may need reinforcement changes, thicker sections, or a void form at edges.
- Always build to stamped drawings and local amendments.
Exceptions: When Matching Slab and Building Size Is OK
- Building on piers or stem walls with the slab inset
- Perimeter footing designs that isolate the wall from the slab edge
- Gravel base buildings without a slab
- Retrofits onto an existing slab/foundation
In these cases, the engineered drawings control. Don’t guess.
How to Plan the Right Slab Size
- Get the building plans first. Don’t pour without the anchor layout and base details.
- Confirm the overhang with your installer based on brand, anchor type, and finish.
- Set slope in the forms (check with a laser): aim ¼″/ft away from walls.
- Lay out the joint pattern before the pour; snap lines.
- Install the vapor retarder (ASTM E1745 Class A), tape seams, and seal penetrations.
- Verify edge distances to anchors and penetrations before the truck shows up.
Pre-Pour Checklist (print this)
- Drawings on site; inspector/permit scheduled
- Form setout gives ½–3″ overhang (more for carports)
- Exterior apron slope ¼″/ft away from building
- 4–6″ compacted granular base in place
- ASTM E1745 Class A vapor retarder installed, seams/penetrations taped, turned up at edges where detailed
- Joint layout snapped (~24–36× thickness)
- Anchor-rod plan verified; clear edge distance at all anchors/plates
- Termite treatment (where required) scheduled/documented
- Photos taken for records before pour
FAQs: Slab Sizing for Metal Buildings
Can I pour my slab before ordering the building?
No. You’ll miss anchor locations and base details. Wait for the anchor-rod plan.
What if I already poured the slab the same size?
It can work with custom brackets, off-slab anchors, added flashing, and sealant. Expect more labor and potential edge-distance compromises.
How thick should my slab be?
Most garages/shops use 4–6″ with rebar or fiber. Go thicker and consider dowels for forklifts or heavy point loads. Follow the engineer.
Do I need slab-edge insulation?
If the slab is heated or you’re in certain IECC climate zones, likely yes. Check local adoption and termite/frost rules before placing foam at grade.
Final Take: Plan the Slab Smart, Not Tight
A slab that matches the building footprint creates installation, anchoring, and drainage problems. Leave a small, deliberate margin. It pays off with cleaner installs, drier interiors, compliant details, and fewer callbacks.