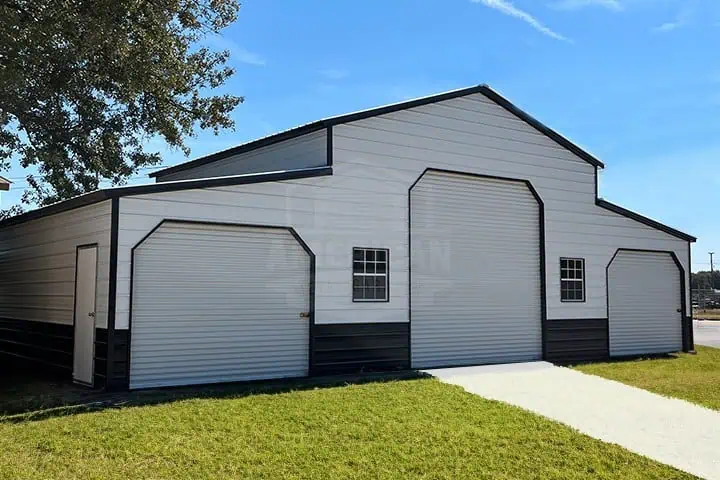
Designing a 40x60x14 Commercial Garage: Step-by-Step Guide

A 40x60x14 commercial garage is more than just steel panels and anchor bolts. The design phase sets the tone for everything that comes after — from how smooth installation goes to how functional the building is once it’s in use.
Here’s how we approach the design process to make sure every square foot works the way it should.
Step 1: Understanding the Purpose
We start by asking the big question: What’s going inside the building?
- Vehicles, equipment, or mixed storage?
- Will there be work bays or open space?
- Any need for future expansions or add-ons?
This drives choices like door size, number of bays, and wall clearance.
Step 2: Choosing Dimensions & Height
40×60 is a common size because it balances usable width and length. At 14’ tall, it handles larger vehicles like RVs or trucks without issue.
Pro Tip: Height isn’t just about what fits today — it’s about leaving room for what might be parked inside five years from now.
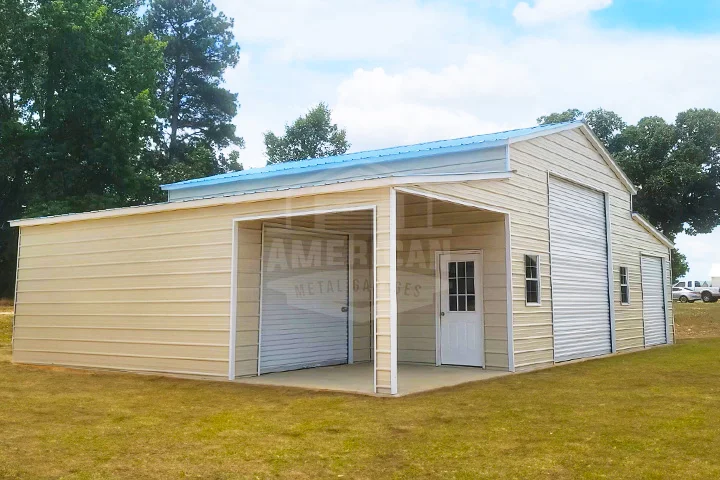
Step 3: Door Placement & Access Flow
Three roll-up doors is a common layout, but spacing matters:
- Independent access to each bay
- Clearance for swing or overhead storage
- Easy entry/exit without blocking other areas
Step 4: Structural Choices
We look at:
- Roof style (gable, vertical for drainage)
- Framing (commercial-grade steel for longevity)
- Anchoring (concrete, gravel, or other surface prep)
Step 5: Local Code & Load Ratings
Before finalizing, we check:
- Wind load requirements (Mosheim TN = 130 MPH zone)
- Snow load requirements (based on county maps)
- Permits and stamped drawings
Step 6: Final Plan & Approval
Once everything is mapped out, we confirm specs with the customer so there are no surprises on install day.
Want to see a real 40x60x14 garage build? Check out Emilee Miller’s project in our Project Showcase.